If you don't know where to start with motion graphics, check out my weekly column "Quick Tip." I'll show you how to create some awesome effects using Adobe Creative Suite and other tools. My column also discusses how journalists can use these graphics in their videos.
Level with me. Have you ever pretended to crush a co-worker's head between your fingers?
Level with me. Have you ever pretended to crush a co-worker's head between your fingers?
Yeah, me neither.
Let's say you have tried it before. Having your fingers follow your colleague is like tracking a moving object in Adobe After Effects. Using this technique, we can make text, shapes, images and even videos follow almost anything that moves.
Tracking does away with the busy work of having to set down a million position keyframes yourself. By highlighting an object in a video, Adobe After Effects will attempt to do it for you.
Journalists can use this effect to draw viewers' attention to a moving object, say, using a circular outline or a text box. It's something that I've only dabbled with in the past, but it's a cool trick to learn nonetheless.
Let's get started.
Keeping to our theme of animal friends, let's use this video of a headbangin' parrot. You can download the same footage through Pixabay at no cost.
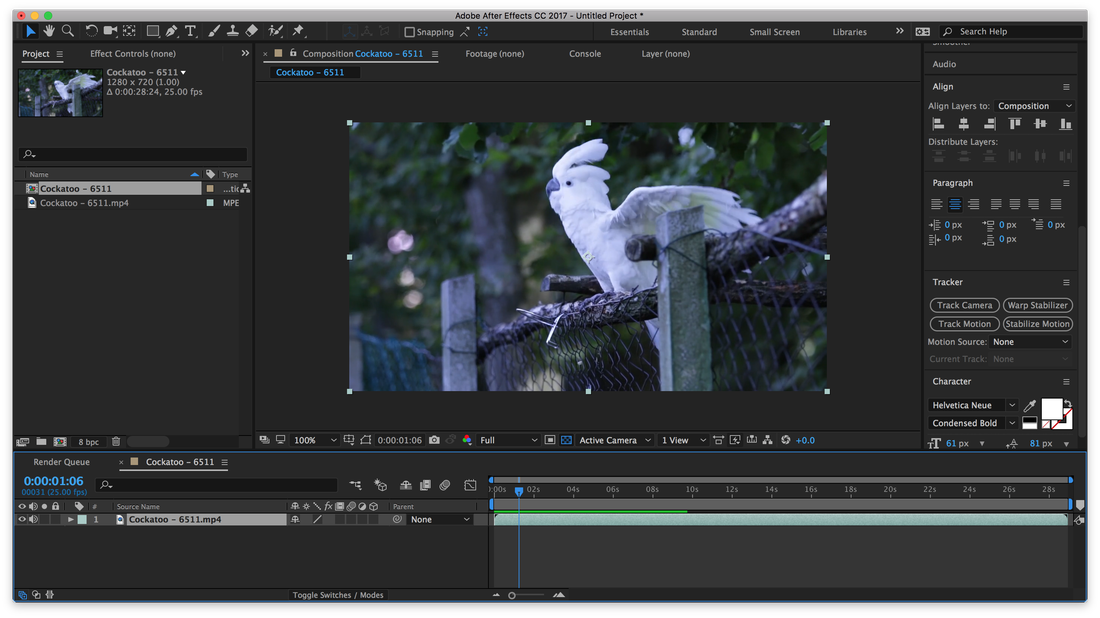
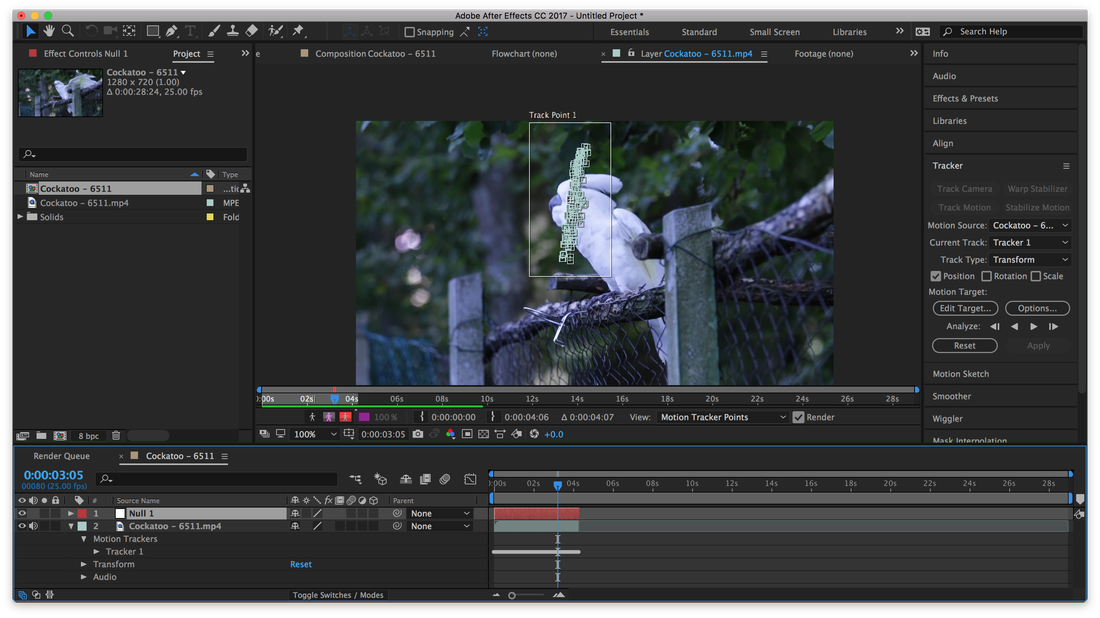
You'll need to bring up your Tracker window. If this doesn't show up in your workspace, click Window in the top menu bar and then Tracker in the drop down menu.
The window will appear to the right of your screen, as in the picture above.
You'll need to bring up your Tracker window. If this doesn't show up in your workspace, click Window in the top menu bar and then Tracker in the drop down menu.
The window will appear to the right of your screen, as in the picture above.
If you have trouble finding some of the options in the Tracker window, click on Window in the top menu bar, then Workspace in the drop down menu and then All Panels. This should show you all of its buttons and inputs.
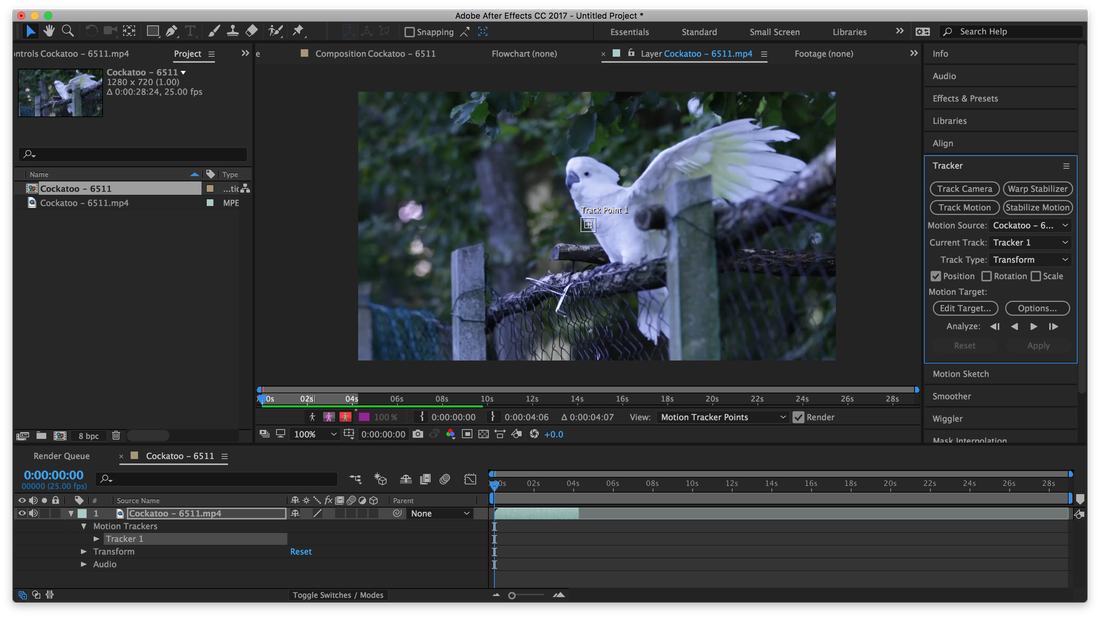
Now it's time tell Adobe After Effects to follow an element in the video. Click on Track Motion in the Tracker window. It'll bring up a box labelled Track Point 1 in your Composition window.
Move the box over a distinctive visual element in your video. You should highlight something that looks the same throughout the video.
This parrot has big, beautiful eyes, so how about we go with that? Hover over the box and, when a cross with arrows appears, click and drag it over the eye.
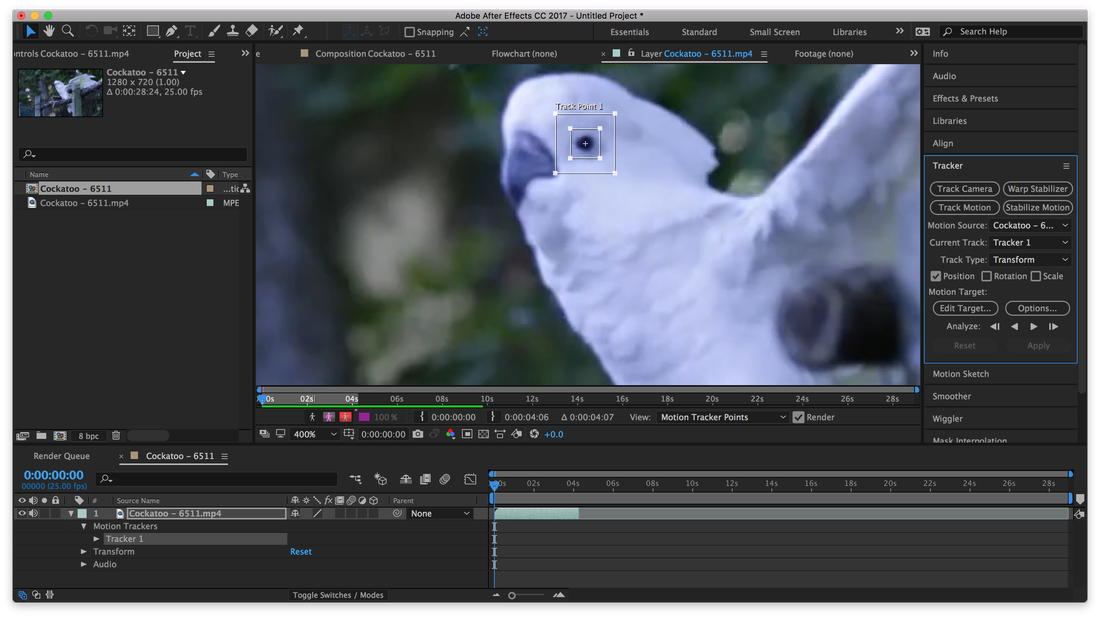
Notice there are two boxes? The smaller box is the element Adobe After Effects will attempt to track. In this case, it's the parrot's dark, round eye. The bigger one is where the program will search for the tracked element.
Since the parrot will be bobbing its head up and down, you'll have to scale the bigger box so that it'll cover all the spaces where the eye will appear. Don't make the box too big though as Adobe After Effects will take a longer time analyzing the video.
Click Analyze in the Tracker window and let the program do its thing.
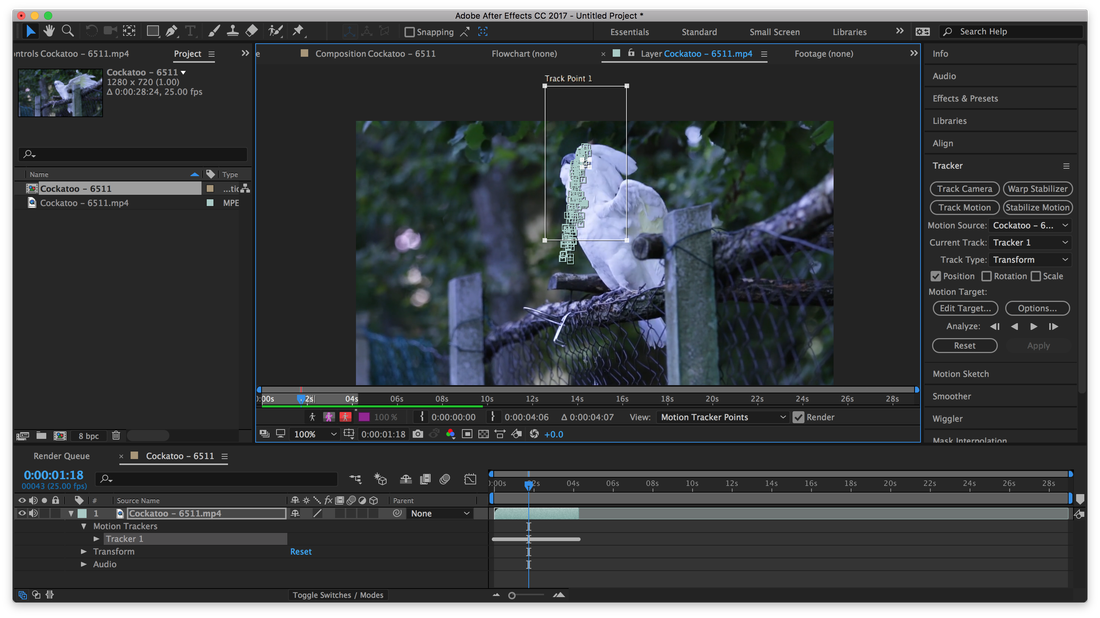
Adobe After Effects did a pretty good job of tracking that eye, but that's not always going to be the case. There is a way to reposition its Feature Points — that's where the program thinks the tracked element is at that point in the video — so that it's more accurate.
You can either move the boxes within the Composition window itself or click on the arrow beside Tracker 1 and then Track Point 1 to find the Feature Points option in the Timeline window.
You can either move the boxes within the Composition window itself or click on the arrow beside Tracker 1 and then Track Point 1 to find the Feature Points option in the Timeline window.
Now that we have these Feature Points, you need to tell Adobe After Effects to translate that into Position keyframes for another layer.
To do this, click Edit Target... in the Tracker window and select the target layer. In this case, it's the null object labelled Null 1. You don't necessarily need to use a null object though.
Once we've selected our target object, click Apply in the Tracker window. Null 1 will now have Position keyframes at the same times and positions as your Feature Points.
From there, it's pretty straightforward.
You can write up some text and set its parent to Null 1. To do this, click on the drop down menu next to your text layer's name in the Parent column of your timeline and select Null 1. You can also click and drag the layer's Pick Whip — that's the little squiggle in the Parent column — onto another layer you want as its parent.
The text will now follow the movement of its parent. Here's what the effect will look like once it's rendered out.
You keep rockin' to Disturbed, parrot.
That's it for this week's Quick Tip. I'll be back again next week with another lesson.
Have a great weekend!
 RSS Feed
