If you don't know where to start with motion graphics, check out my weekly column "Quick Tip." I'll show you how to create some awesome effects using Adobe Creative Suite and other tools. My column also discusses how journalists can use these graphics in their videos.
You never know when you'll need a countdown timer.
I mean, where would movie and television villainy be without a good ol' fashioned ticking time bomb?
You never know when you'll need a countdown timer.
I mean, where would movie and television villainy be without a good ol' fashioned ticking time bomb?
Dramatic pulling away of the hand for effect...
If journalists are going to be called the "enemy of the American people," we might as well learn how to make a good countdown... for our truth bombs!
As with all visual effects, its use depends on the context of the story.
You can use a countdown timer to give viewers an idea of how many hours or minutes have passed, as in this video of my former colleague Bill Beck and I in a speed-eating competition. You can also use it to let audiences know how much time is left before a live feed begins.
Let's figure out how to do this countdown thing.

I take it you have a good grip on how to create a Composition and a Shape Layer but, for the beginners out there, here's a quick run through. Click Composition in the top menu bar and then click New Composition...
For the purposes of this lesson, you'll name the composition "Countdown timer." You'll then want to set the Duration — that's the entry toward the bottom of the window — to however long you want your countdown timer to be. Click OK.
You'll then want to click Layer in the top menu bar, hover over New and then click Shape Layer. This creates a blank layer in your composition, but having a color or shape within it is not necessary.
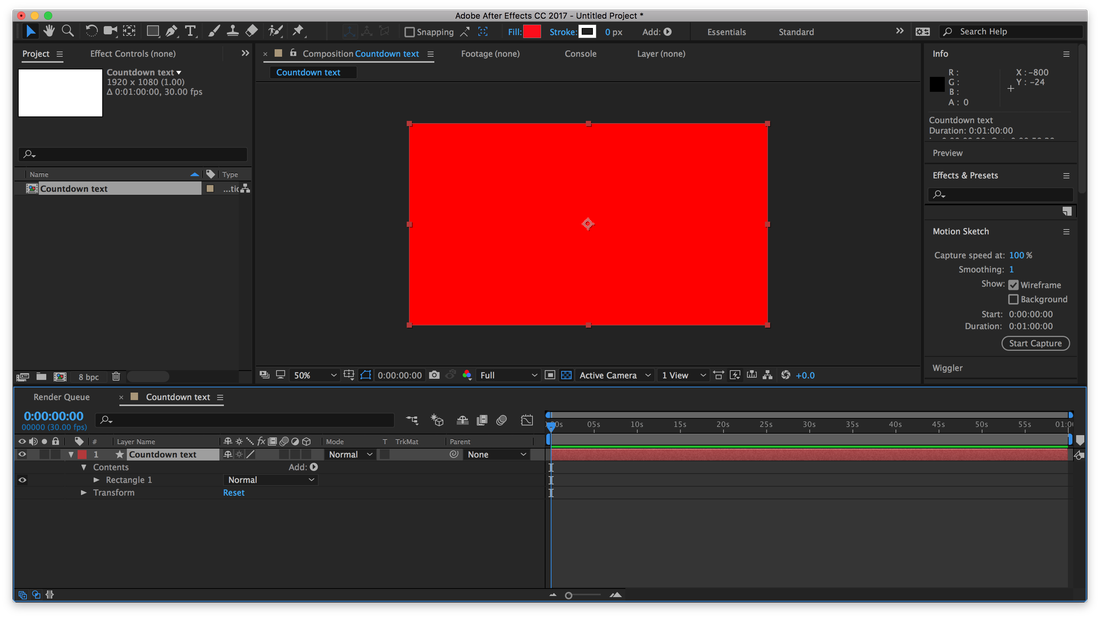
The next step is to turn that Shape Layer into a number. Select the layer in your timeline, click on Effect in the top menu bar, hover over Text and click on Numbers.
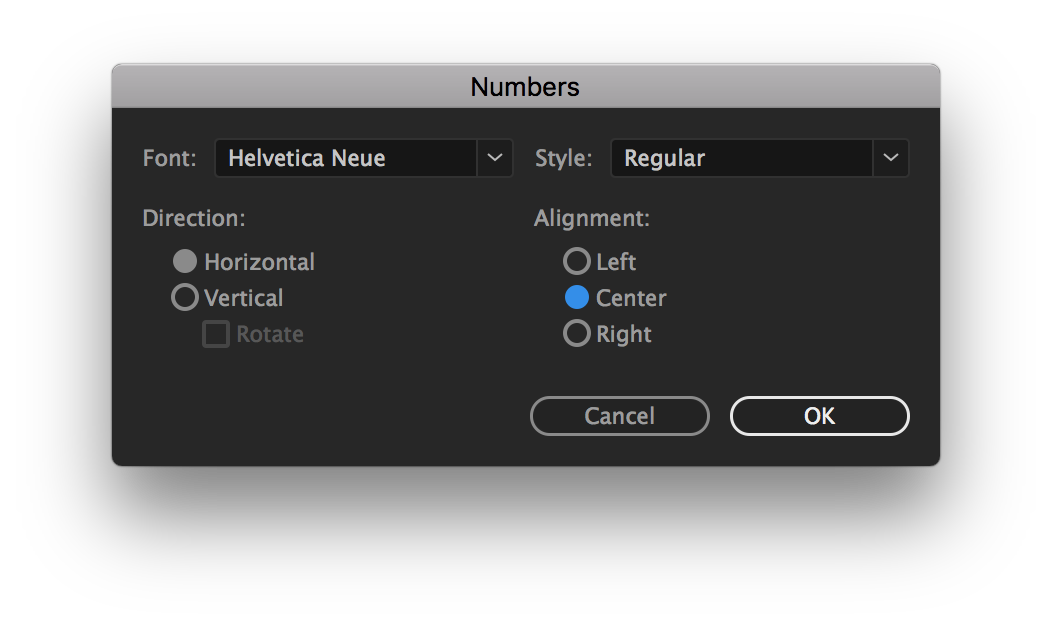
You'll be greeted with the Numbers window. The Direction option allows you to display the numbers in your timer horizontally or vertically. The rest of the options are self-explanatory. Click OK once you've decided what you want your timer to look like.
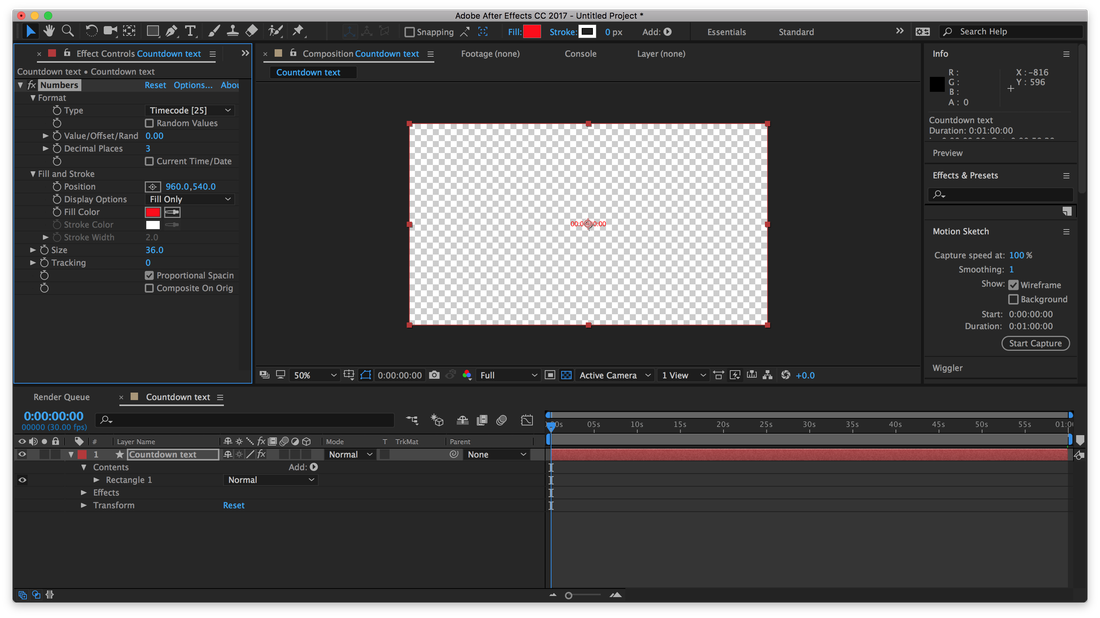
Now we need those numbers to display the time. Select the Shape Layer in your timeline and bring up the Effect Controls panel to left of the screen. If it doesn't appear, click on the double arrows to the right of that panel and select Effect Controls.
Change the Type to one of the Timecode options, and it should now count up. From here, you can change the cosmetics of the timer, from its fill color to its size.
Change the Type to one of the Timecode options, and it should now count up. From here, you can change the cosmetics of the timer, from its fill color to its size.
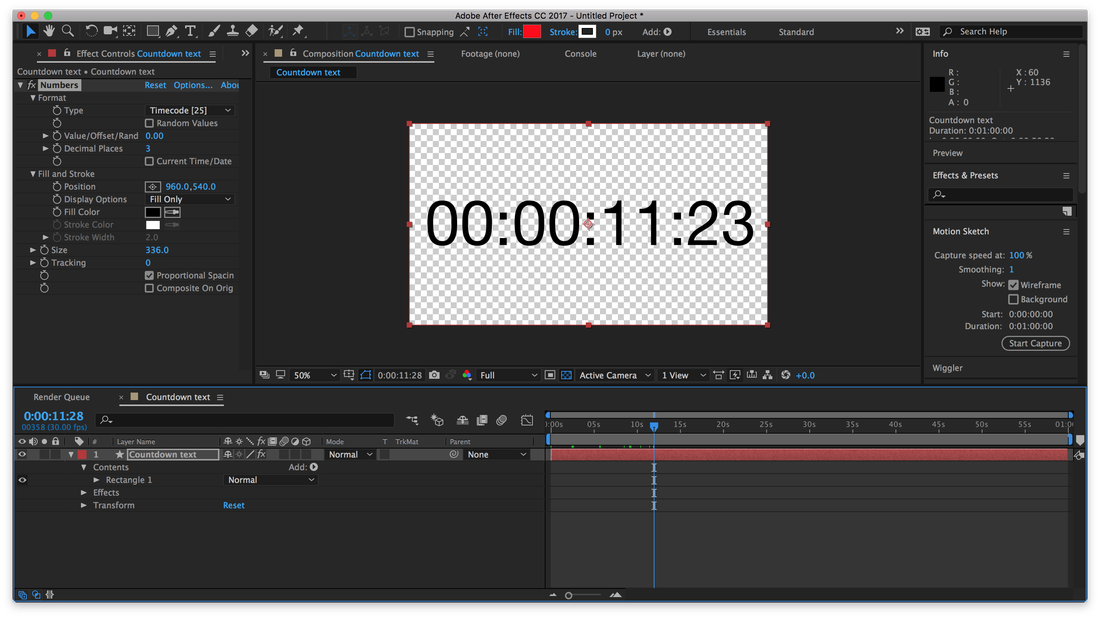
When you play the composition, you might notice that some of the numbers do not stay in place. To fix this, uncheck Proportional Spacing in the Effect Controls window. If it looks a little funky, adjust the spacing yourself using the Tracking option.
It's a whole mess of numbers, and you might only need the seconds. You can do this in one of two ways.
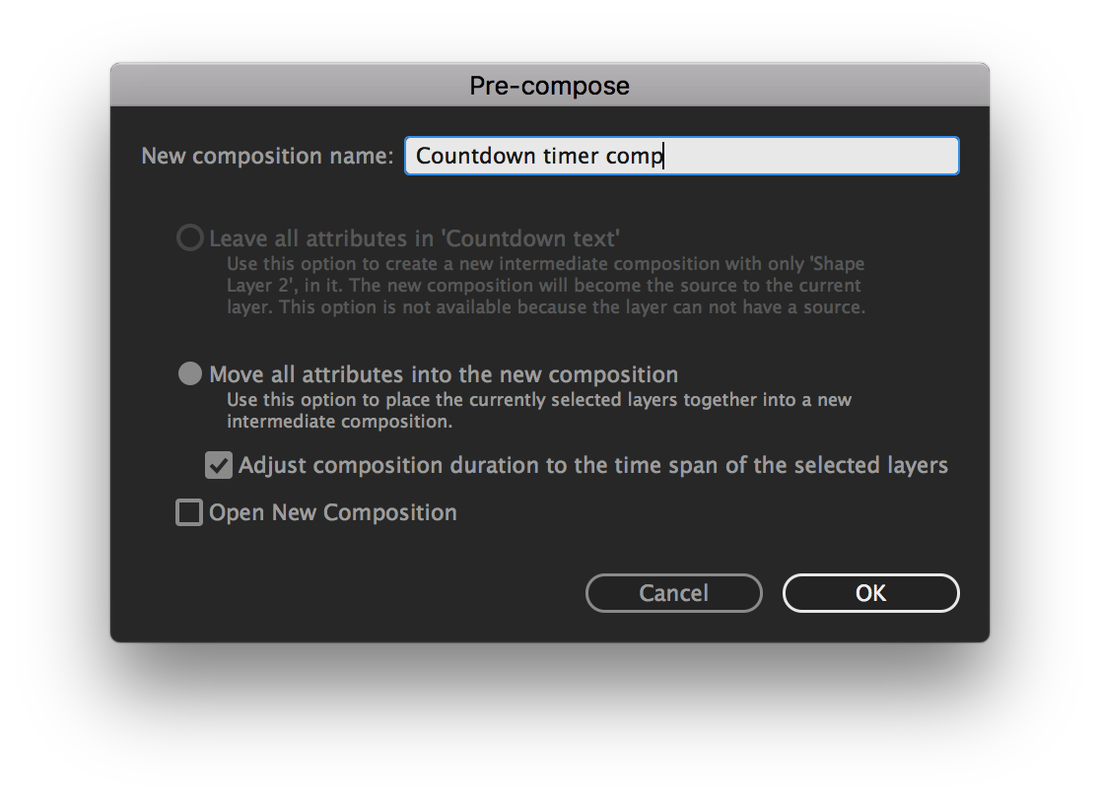
You can size up the Shape Layer so that only the seconds are displayed on screen. You then want to convert that layer into a separate composition. To do this, precompose the layer by right-clicking on it in the timeline and clicking Precompose...
In the pop-up window, select "Move all attributes into the new composition" and click OK. You can now size that composition, which only displays your seconds, accordingly.
It's a whole mess of numbers, and you might only need the seconds. You can do this in one of two ways.
You can size up the Shape Layer so that only the seconds are displayed on screen. You then want to convert that layer into a separate composition. To do this, precompose the layer by right-clicking on it in the timeline and clicking Precompose...
In the pop-up window, select "Move all attributes into the new composition" and click OK. You can now size that composition, which only displays your seconds, accordingly.
The way I do it though is through Masking, which you can think of as cutting out the parts of a composition that I want to display.
It starts out a little like the other method. You have to precompose the Shape Layer first.
It starts out a little like the other method. You have to precompose the Shape Layer first.

With the newly-created Composition selected, use the Rectangle Tool — that's the icon at the top that looks like, duh, a rectangle — and draw a shape over the numbers you want to display. You'll notice that only the values inside of the rectangle will be displayed.
The numbers will count up, but what if we want it to count down instead? It's simple. Right click the layer in your timeline, hover over Time and then click Time-Reverse Layer. That's all you need to do.
From there, everything else should be straightforward. You can then size up the Composition so that the values all fit on the screen and place another Shape Layer beneath it to create a background.
Once it's all rendered, it should look something like this. I added a Drop Shadow effect to the numbers to make it look pretty.
There you have it. A simple countdown. As always, I'll be back again next week with another visual effect. Have a good Labor Day, everyone!
 RSS Feed
