If you don't know where to start with motion graphics, check out my weekly column "Quick Tip." I'll show you how to create some awesome effects using Adobe Creative Suite and other tools.
I want to start off this week's Quick Tip with a quick apology.
I wasn't able to bring you last week's lesson because I was in a small accident. One of my car's front wheels came off and ran for the hills of middle Pennsylvania. I wasn't injured, but I had to listen to my tow truck driver's take on the current political climate during the hour-and-a-half drive home.
"Please, go on."
Now that's out of the way, I thought I'd return with something fun this week. There's no real practical application for neon text in your journalistic work, but this exercise will help you familiarize yourself with Adobe After Effects.
Also, it's real friggin' cool.
Also, it's real friggin' cool.
I don't say things like "ya basic," but it's something Kristen Bell's character says in the NBC comedy The Good Place. It's such a good show.
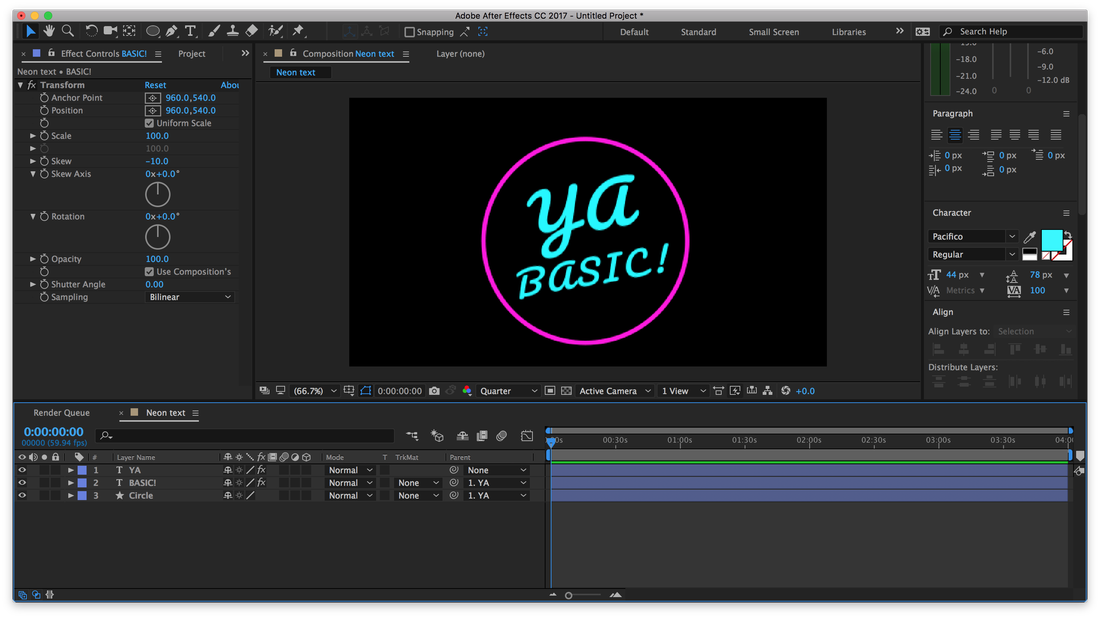
Create any design you like using bright, saturated colors and precompose all your layers together.
The first thing you'll want to do is to create an unlit neon sign. Start out by duplicating your precomposed layer and hiding the top one by clicking the eye icon next to it.
Create any design you like using bright, saturated colors and precompose all your layers together.
The first thing you'll want to do is to create an unlit neon sign. Start out by duplicating your precomposed layer and hiding the top one by clicking the eye icon next to it.
|
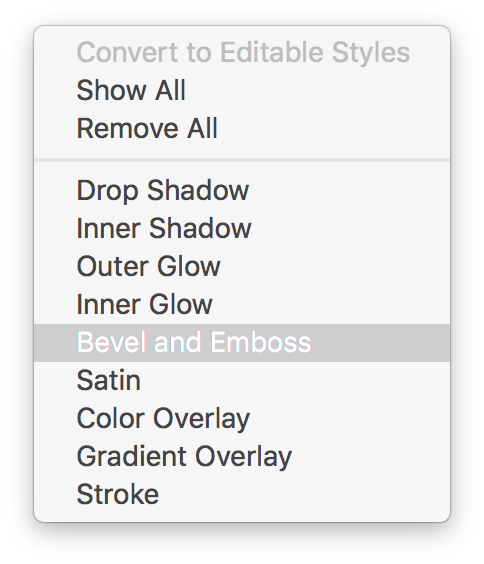
Right-click on the bottom layer, hover over Layer Styles and select Bevel and Emboss, as shown in the image to the right.
Do it all over again but add a Drop Shadow the second time around. You'll then want to add a Fill effect to the layer and turn it gray, much like a neon sign would look when it's turned off. |
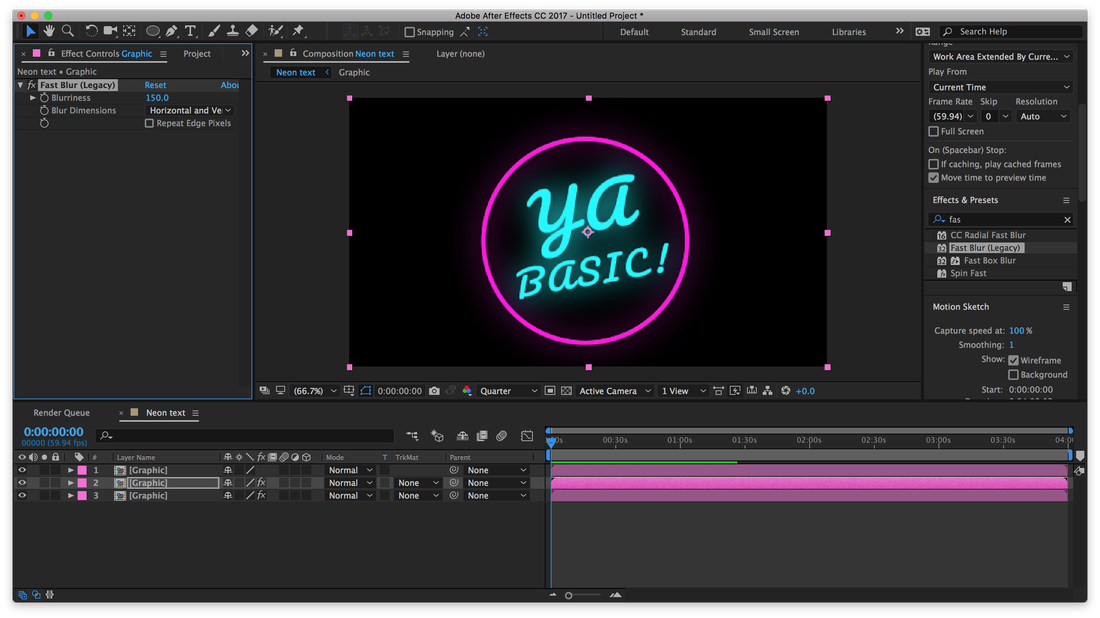
The next thing you'll want to do is recreate the glow of the neon light. Unhide the top layer and make another duplicate of it. Add a Fast Blur effect to the middle layer and set its Blurriness to 150.
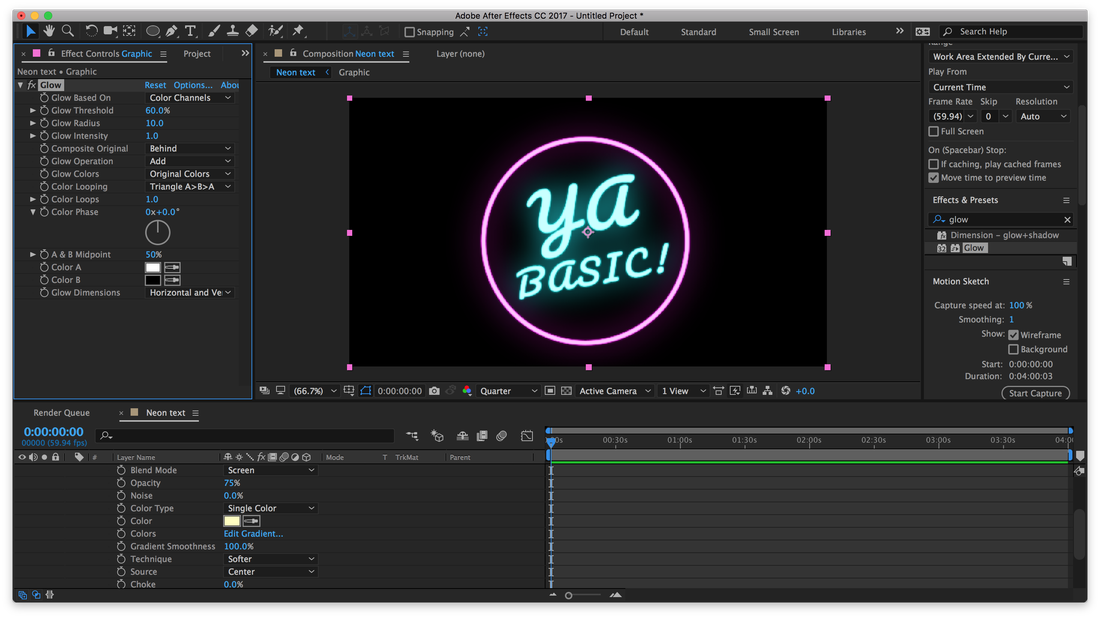
Right-click on the top layer and hover over Layer Styles, adding Inner Glow this time around. Select the layer again and twirl down to the Inner Glow effect. Open the drop-down menu for Source and select Center.
Once you're done with that, add a Glow effect to the layer.
Once you're done with that, add a Glow effect to the layer.
If you want to add some extra details to your light, make a duplicate of the top layer and delete its Glow effect. Right-click on it, hover over Layer Styles and select Bevel and Emboss.
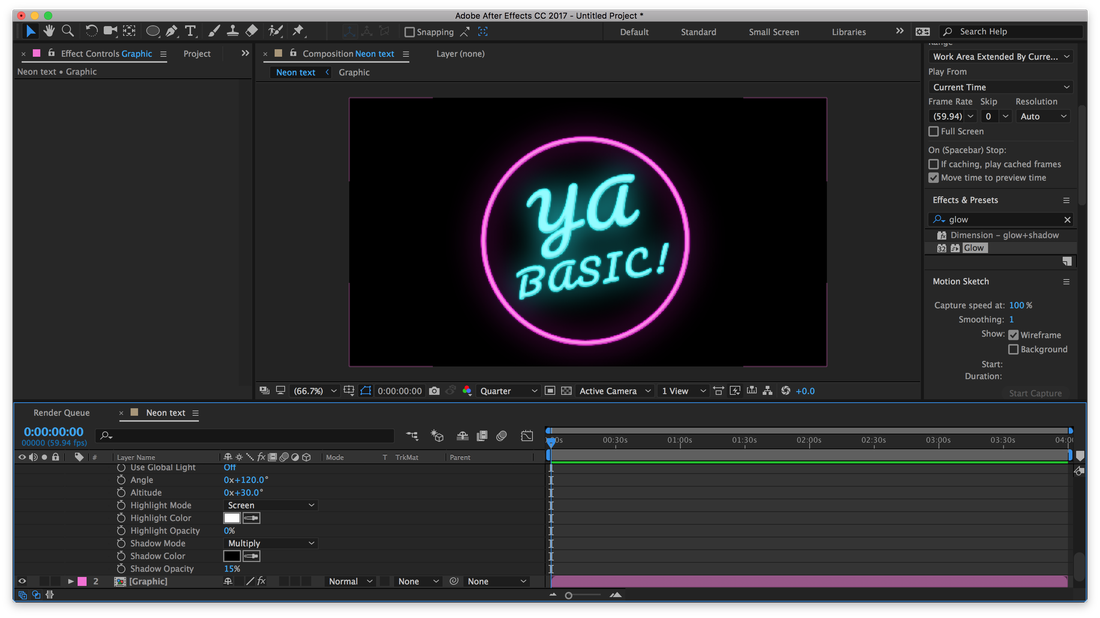
Twirl the top layer down. Under Inner Glow, set your opacity to 50 percent. Under Bevel and Emboss, set your Highlight Opacity to zero percent and your Shadow Opacity to 15 percent.
Twirl the top layer down. Under Inner Glow, set your opacity to 50 percent. Under Bevel and Emboss, set your Highlight Opacity to zero percent and your Shadow Opacity to 15 percent.
There you have it. A simple neon light. But what if you want to make it stand out against a background?
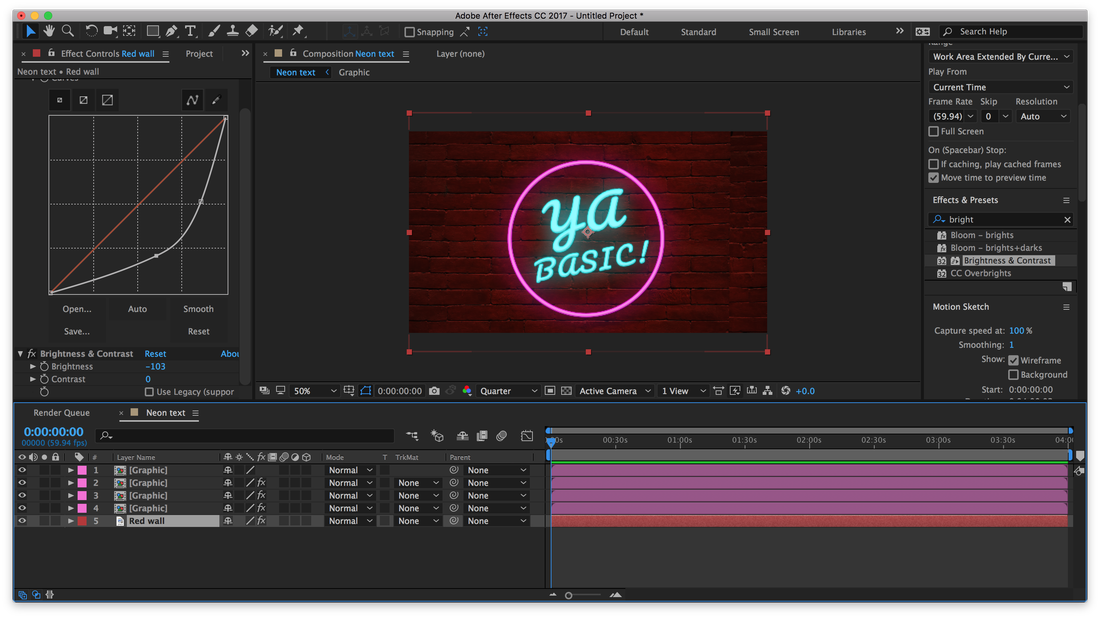
The first thing you want to do is find an image of a wall. I found the one above using Pixabay, which offers a lot of images that's free for commercial use. You can tweak it a little bit using the Curves and Brightness & Contrast effects to make it a little darker.
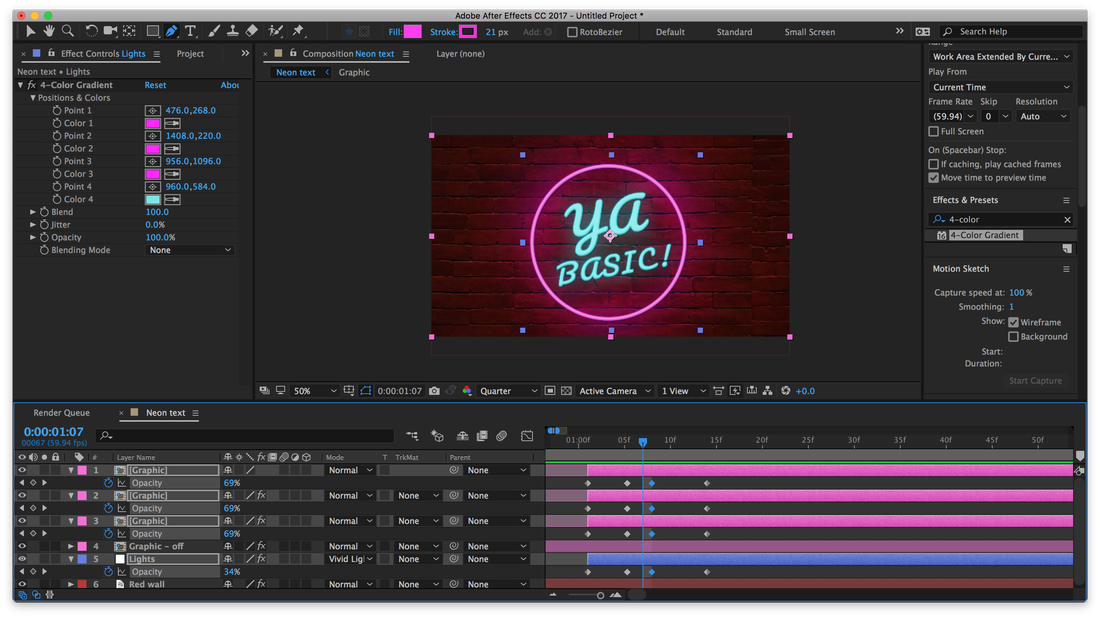
You'll then want to create a new Solid layer. It doesn't matter what color it is because you're going to add a 4-color Gradient effect to it.
You'll then want to create a new Solid layer. It doesn't matter what color it is because you're going to add a 4-color Gradient effect to it.
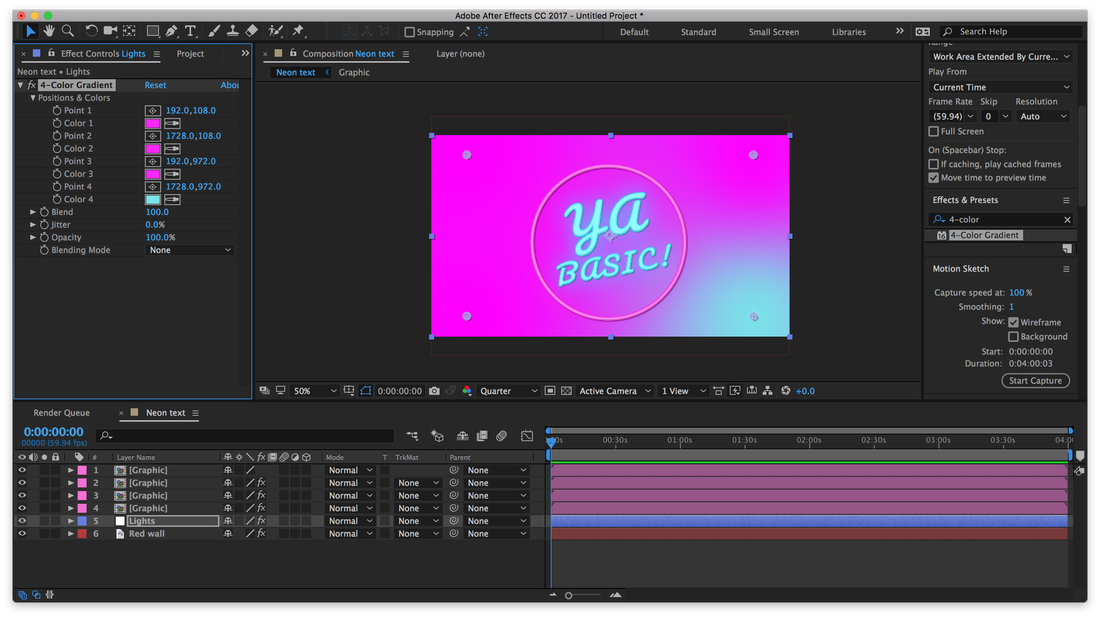
Using the color pickers in the Effect Controls panel, select the blue and fuchsia of your neon light. Set the fuchsia points just outside the outer circle and the blue point right in the middle of the text.
It should look something like this.
It should look something like this.

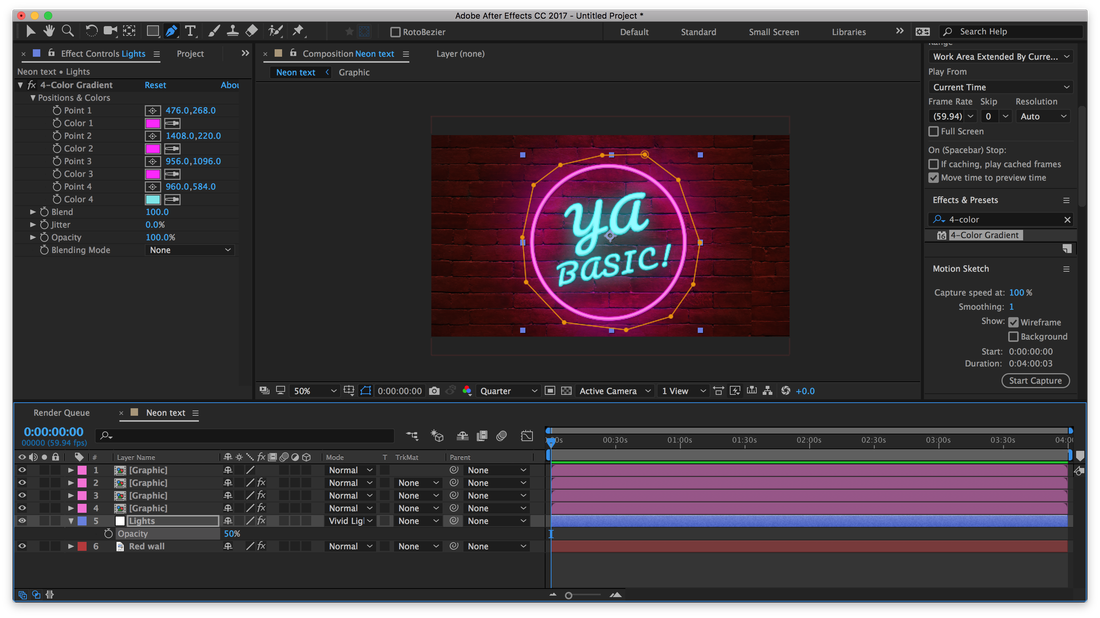
With that Solid layer selected, make a Mask around the graphic. Twirl the layer down, select Mask 1 and open up its Mask Feather option by pressing F. Adjust this to 400 or whatever you think looks best.
Once you're done with that, open up the drop-down menu under the Mode column and select Vivid Light. Readjust the layer's Opacity to about 50 percent, and your neon light will be lit against the wall.
Once you're done with that, open up the drop-down menu under the Mode column and select Vivid Light. Readjust the layer's Opacity to about 50 percent, and your neon light will be lit against the wall.
You'll now want to make the neon sign blink on and off. To do this, you only need to adjust Opacity. Set down several Keyframes for the first three graphic layers and the lights layers, as in the image below.
Once you have it all rendered out, your animation should look something like this.
That's all there is to it.
Now, granted that none of my other wheels decide to run away, I'll be back for another Quick Tip in a week.
Now, granted that none of my other wheels decide to run away, I'll be back for another Quick Tip in a week.
 RSS Feed
