If you don't know where to start with motion graphics, check out my column "Quick Tip." I'll show you how to create some awesome effects using Adobe Creative Suite and other tools.
Hey, everyone! I got a quick lesson on how to create the glitch effect, which you might have seen in cyberpunk movies like Ghost in the Shell.
Sure, the decision to cast Scarlet Johansson as Major Kusanagi was a bit iffy but we can still appreciate the movie's great visual effects, right?
Here we go, friends.
1. PREPARE YOUR LOGO AND STOCK FOOTAGE
The first thing you will need to do is to import your logo and glitched-out stock footage. Nothing too hard.
If you’d like to use the same assets as this lesson, you can download the velociraptor vector image through Pixabay and the stock footage through Shutterstock.
The first thing you will need to do is to import your logo and glitched-out stock footage. Nothing too hard.
If you’d like to use the same assets as this lesson, you can download the velociraptor vector image through Pixabay and the stock footage through Shutterstock.
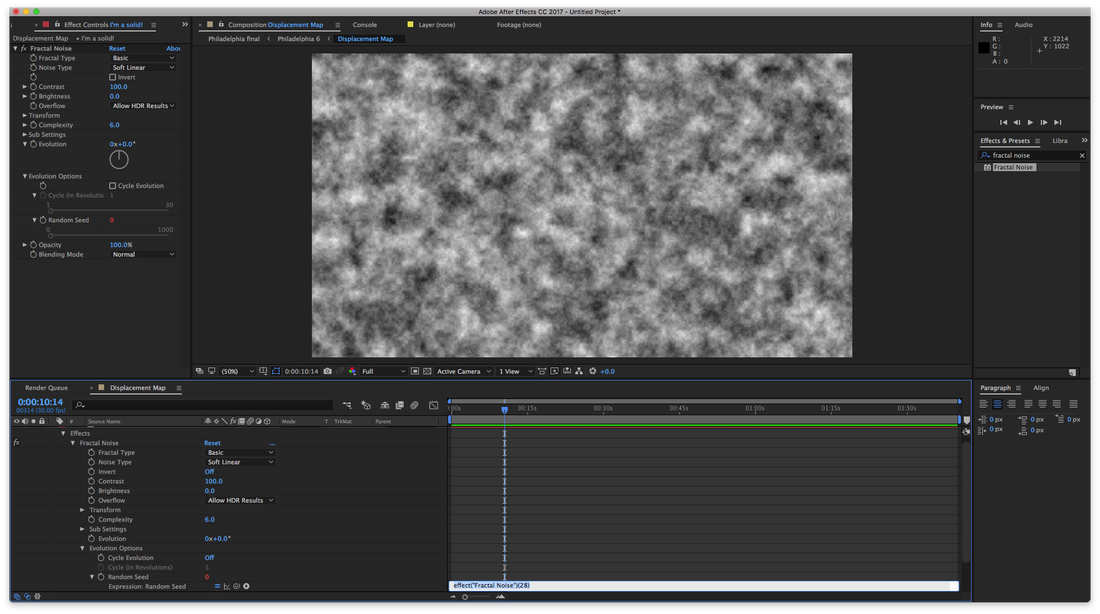
2. USE THE DISPLACEMENT MAP EFFECT
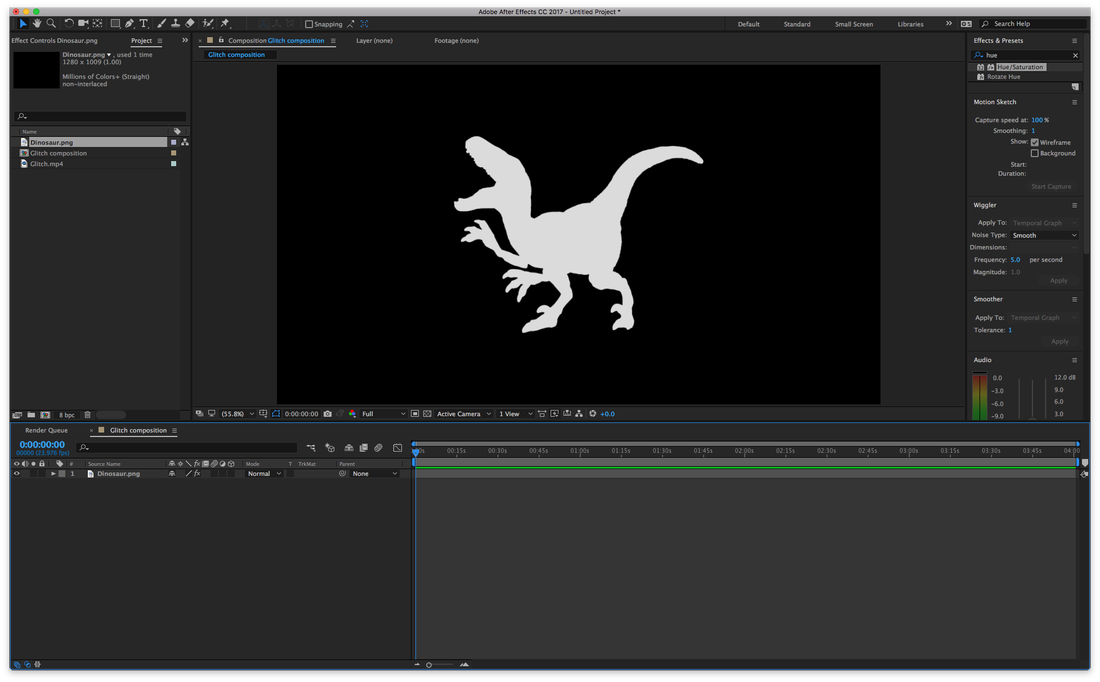
Import both the logo and the stock footage into Adobe After Effects, and drag them both onto the timeline.
Import both the logo and the stock footage into Adobe After Effects, and drag them both onto the timeline.

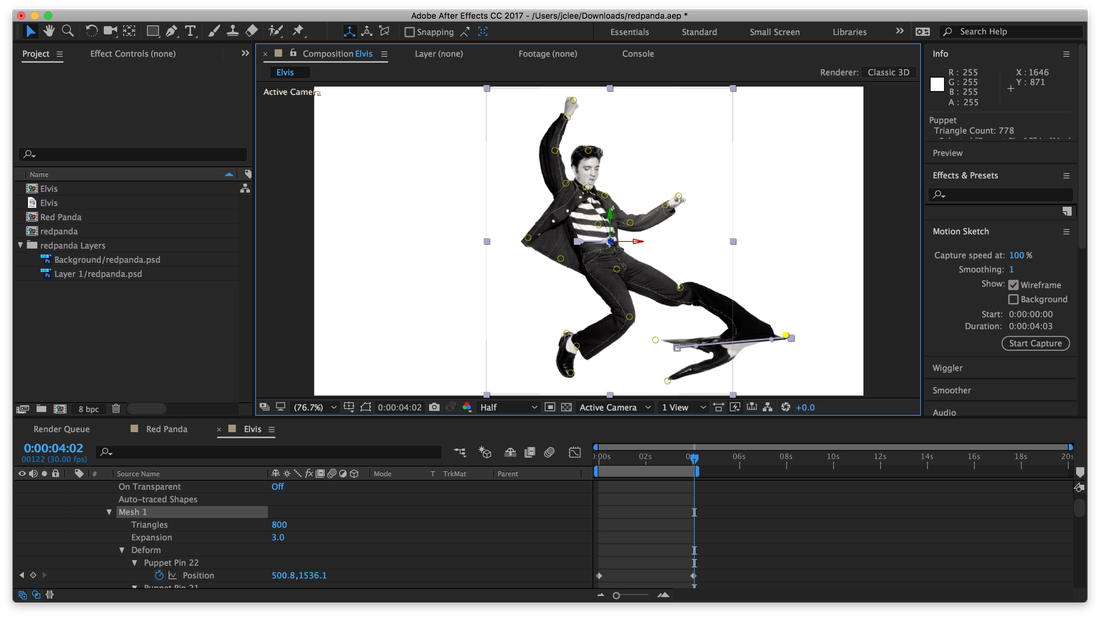
You can hide and mute the stock footage, labelled "Glitch.mp4" in the image above, using the eye and speaker icons to the left of the layer.
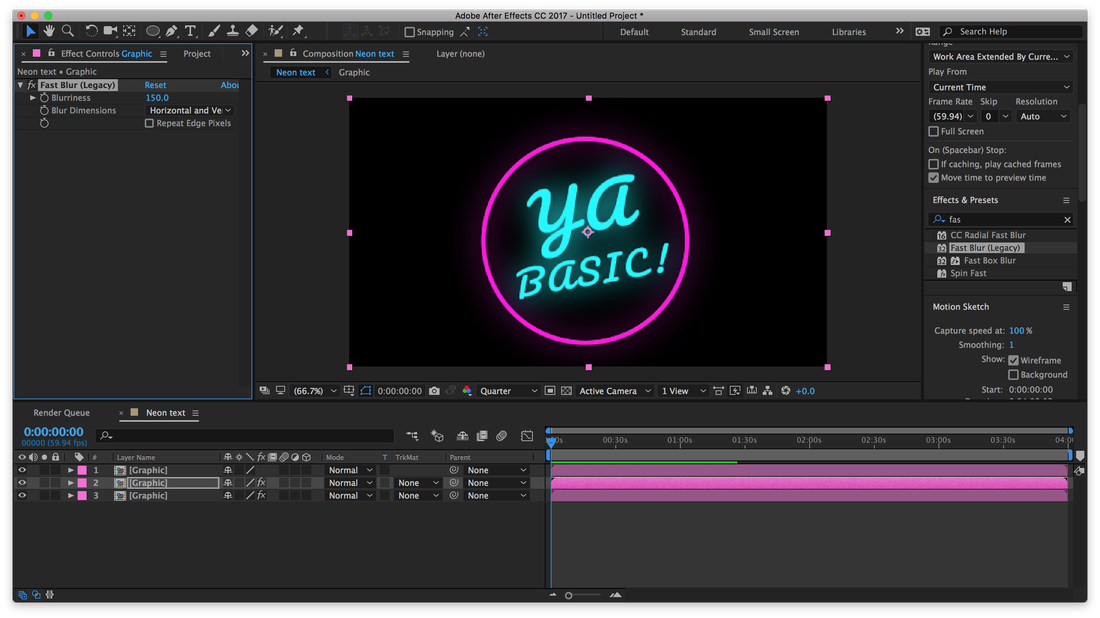
You will then want to create a new Adjustment Layer by clicking Layer > New > Adjustment Layer in the top menu bar. A new layer will appear in your timeline, which will be labelled "Distort adjustment layer 1" for this lesson.
Highlight "Distort adjustment layer 1" and add the Displacement Map effect by clicking Effect > Distort > Displacement Map in the top menu bar.
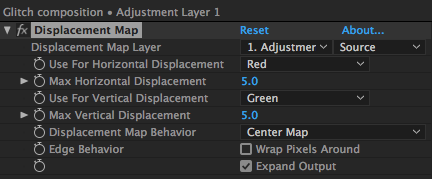
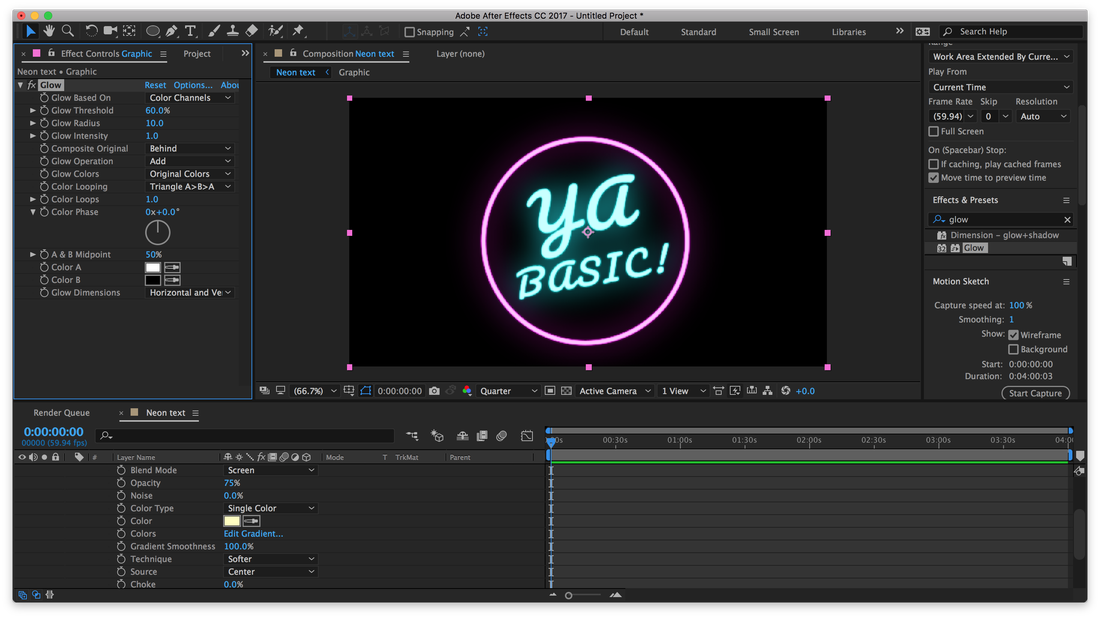
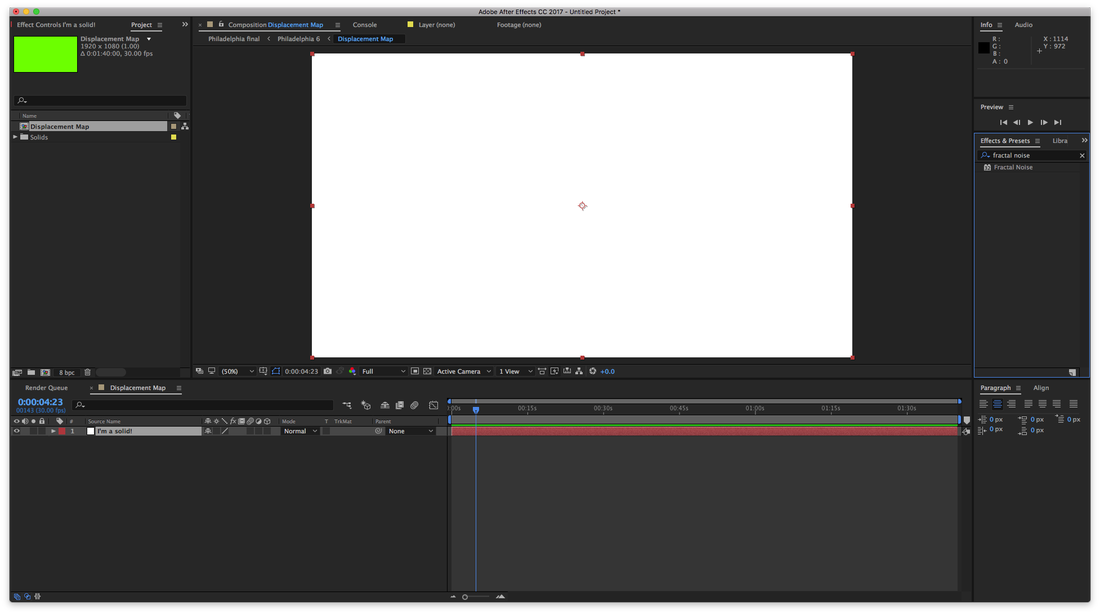
Highlight "Distort adjustment layer 1" in your timeline and you can see its Displacement Map options in the Effects Controls panel. Click on the drop-down menu next to the Displacement Map Layer option and select "Glitch.mp4" and change Displacement Map Behavior to Stretch Map to Fit.
When you preview your animation, it should look something like this.
When you preview your animation, it should look something like this.
You can see a little bit of that glitch effect, but you can do more to make it look even more random.
Duplicate "Distort adjustment layer 1" at least two times. Resize those layers to different lengths and place them at different points in your timeline, as shown below.
Duplicate "Distort adjustment layer 1" at least two times. Resize those layers to different lengths and place them at different points in your timeline, as shown below.

Go into the Effects Control panel and mess around with the Max Horizontal Displacement and the Max Vertical Displacement for each of the adjustment layers. You can eyeball what the effects look like in your preview window.
3. CREATE A COLOR SPLIT EFFECT
The velociraptor vector image now has a wiggly effect, but what if we want to distort its colors?
3. CREATE A COLOR SPLIT EFFECT
The velociraptor vector image now has a wiggly effect, but what if we want to distort its colors?

To do that, you need to duplicate your velociraptor image twice. Rename the three layers — that includes the original layer — as "Green dinosaur," "Blue dinosaur" and "Red dinosaur."
|
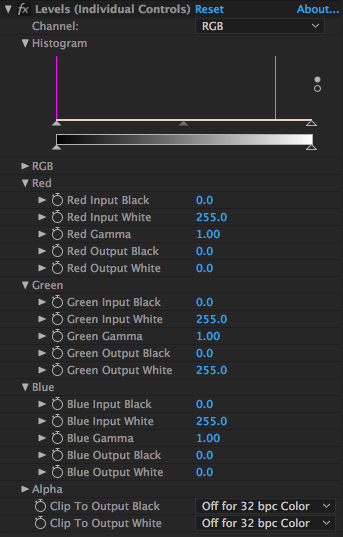
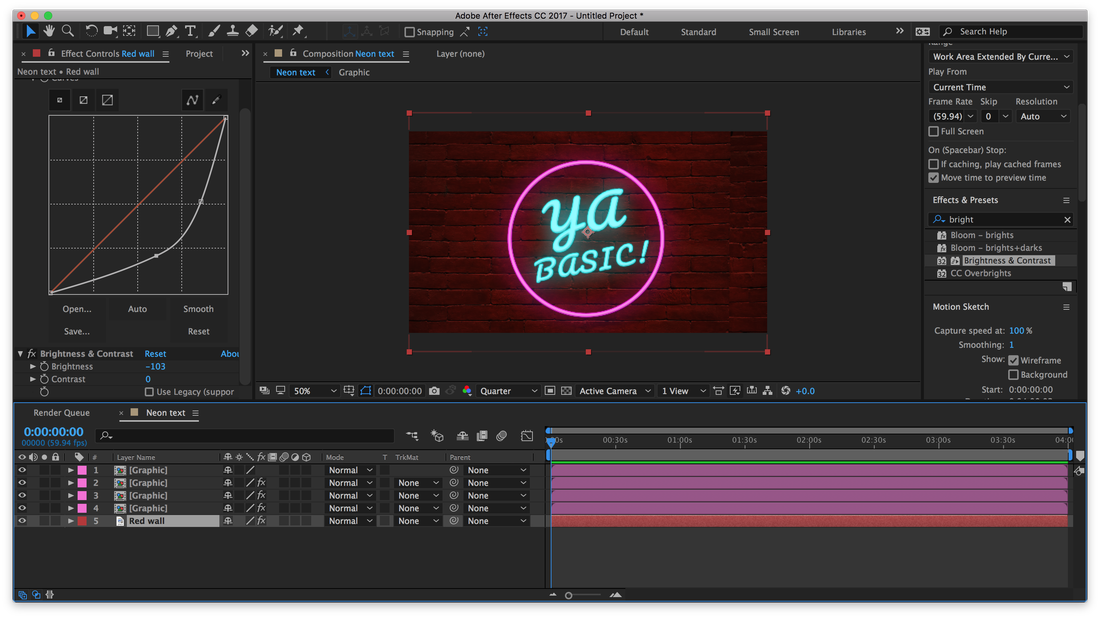
Add the Levels (Individual Controls) effect to each of those layers. You then want to go into the Effects Control panel for each of these layers and adjust the Red, Green and Blue Output White options accordingly.
For example, to make the "Green dinosaur" completely green, change the Red and Blue Output White options to 0. |
Once you're done, set the Mode for the top two dinosaur layers to Screen. You can find this option in the timeline to the right of your layer's name under the Mode column.
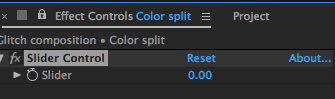
You then want to create a Null Object, which will be labelled "Color Split" for this lesson. Highlight it in the timeline and create a slider for it by clicking Effect > Expression Controls > Slider Control.
Lock the Effects Control for this layer by clicking on the lock icon at the top of that panel, as shown below. This will allow you to see the Effects Control for your "Color Split" layer even if you select another layer.
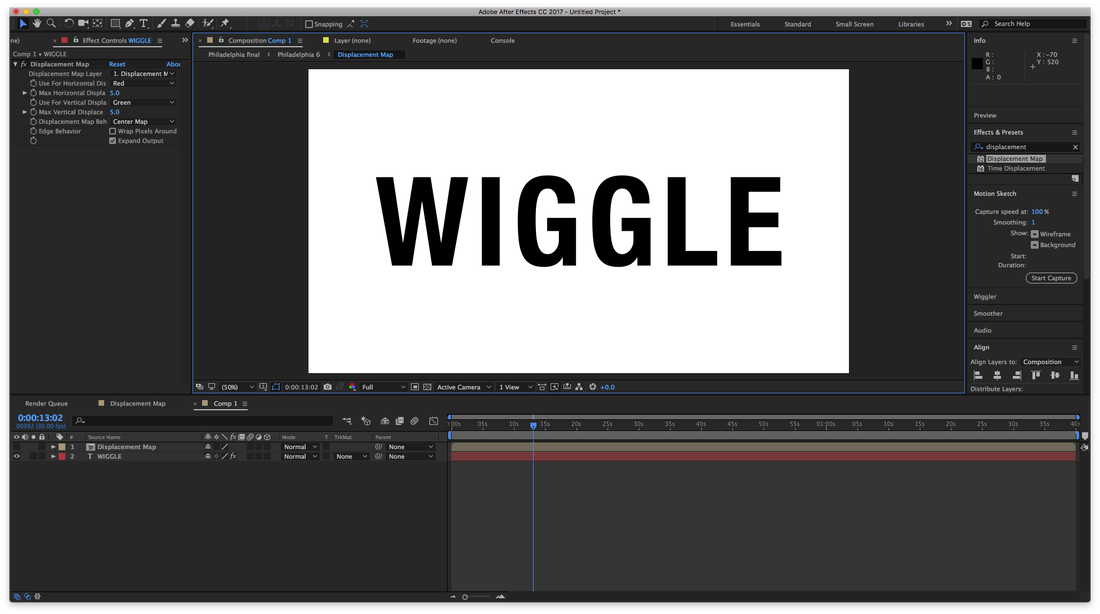
Highlight one of the dinosaur layers — let's use the "Red dinosaur" layer — and open up its Position options by pressing P.
Hold the Alt key and click on the stopwatch icon next to the Position option. This will bring up an Expression Control entry box, where you can type in some code.
It looks a little intimidating, but it'll be worth it. Trust me.
Hold the Alt key and click on the stopwatch icon next to the Position option. This will bring up an Expression Control entry box, where you can type in some code.
It looks a little intimidating, but it'll be worth it. Trust me.

Type in "wiggle(10," in the Expression Control, but don't press Enter just yet. Click and drag the pick whip tool — that's the little swirl icon under the Position option shown above — to the stopwatch icon next under Slide Control in the Effects Control panel. Close out the code with a round bracket or ")."
The code in your Expression Control should now look something like this.
The code in your Expression Control should now look something like this.

Press enter and you will now have an adjustable slider for how much the red layer will wiggle throughout the animation. Mess around with it and set down several keyframes with different values throughout your animation.
It should look something like this now.
It should look something like this now.
4. CREATE A BAD TV EFFECT
It looks good, but there's even more you can do make it look glitchy.
Create another Adjustment Layer and label it "Glitch 1" (at this point, I'm running out of things to call these different layers). Highlight it and select the Bad TV 3 - weak effect.
Selecting this option will give that layer four different effects, including Wave Warp, Color Balance (HLS), Noise and Venetian Blinds. Play around with these different options to create the glitchy effect you like.
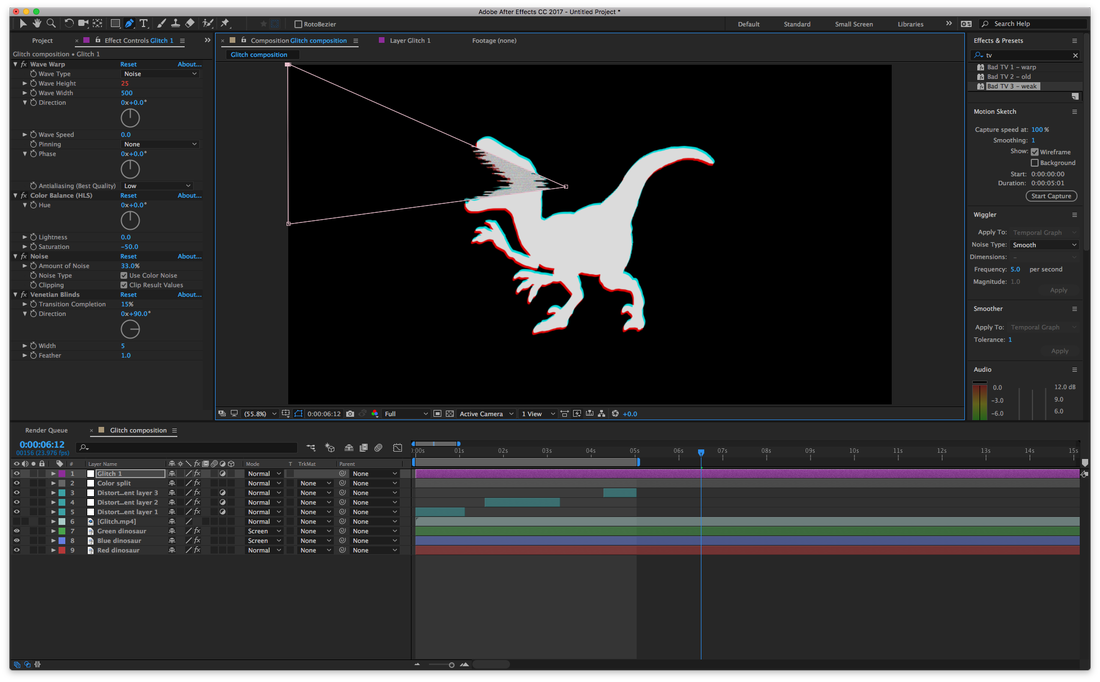
With the "Glitch 1" layer highlighted, click on the Pen Tool — that's the one that looks like the tip of a pen — in the menu bar at the top of your Adobe After Effects window.
Use that tool to draw a Mask, as shown in the image above. Only the contents within the Mask you drew over the adjustment layer will be shown.
Duplicate "Glitch 1" a few times. Reshape the Mask for each of those layers to be at different angles.
Resize the layers to different lengths and position them at random times throughout the timeline, much like what we did before. Once you're done, your composition should look something like this.
I'd say that's an awesome glitched-out velociraptor. Now go forth and find more stuff to digitally disintegrate!


 RSS Feed
